
How to Use the Roof Pitch Calculator in the Estimating Area
The new Roof Pitch Calculator helps you accurately estimate material needs for attic insulation projects. By adjusting for different roof pitches, you’ll avoid underselling and ensure precise calculations every time.
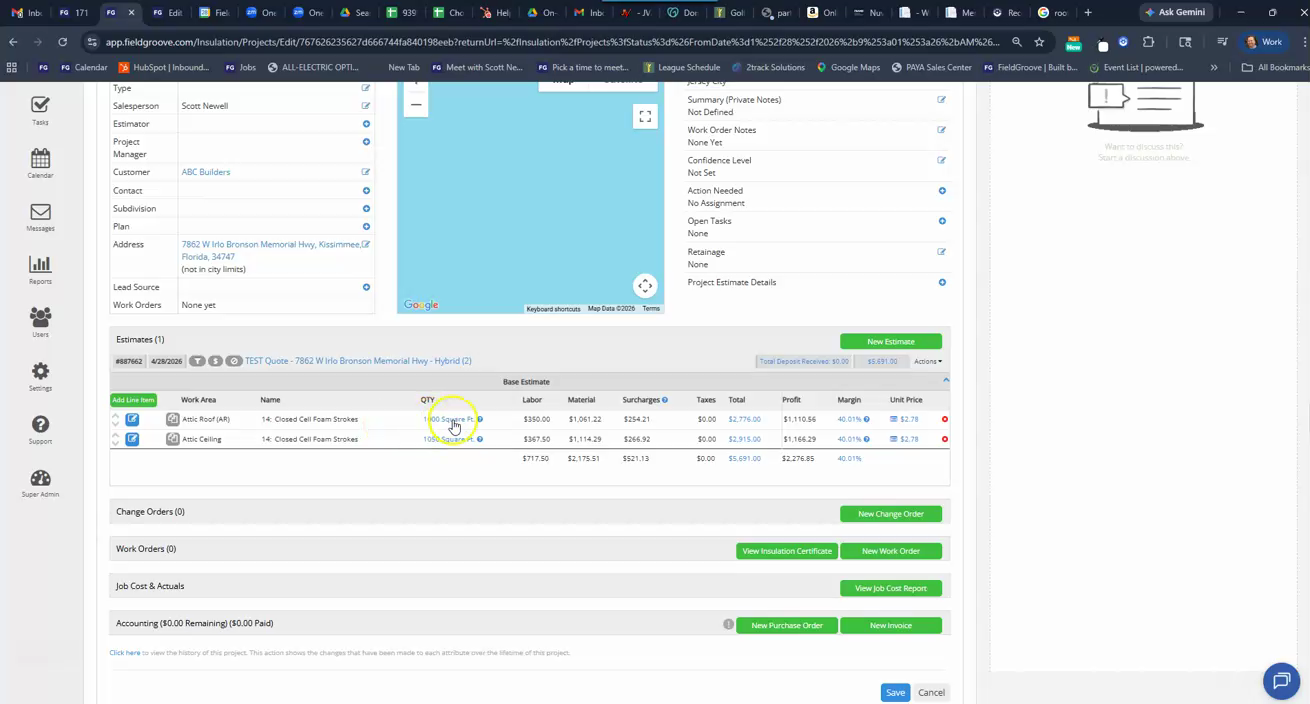
Step 1: Open the estimating area and select the relevant job, such as “Closed Cell Foam for an Attic - 1,000 sq ft.”
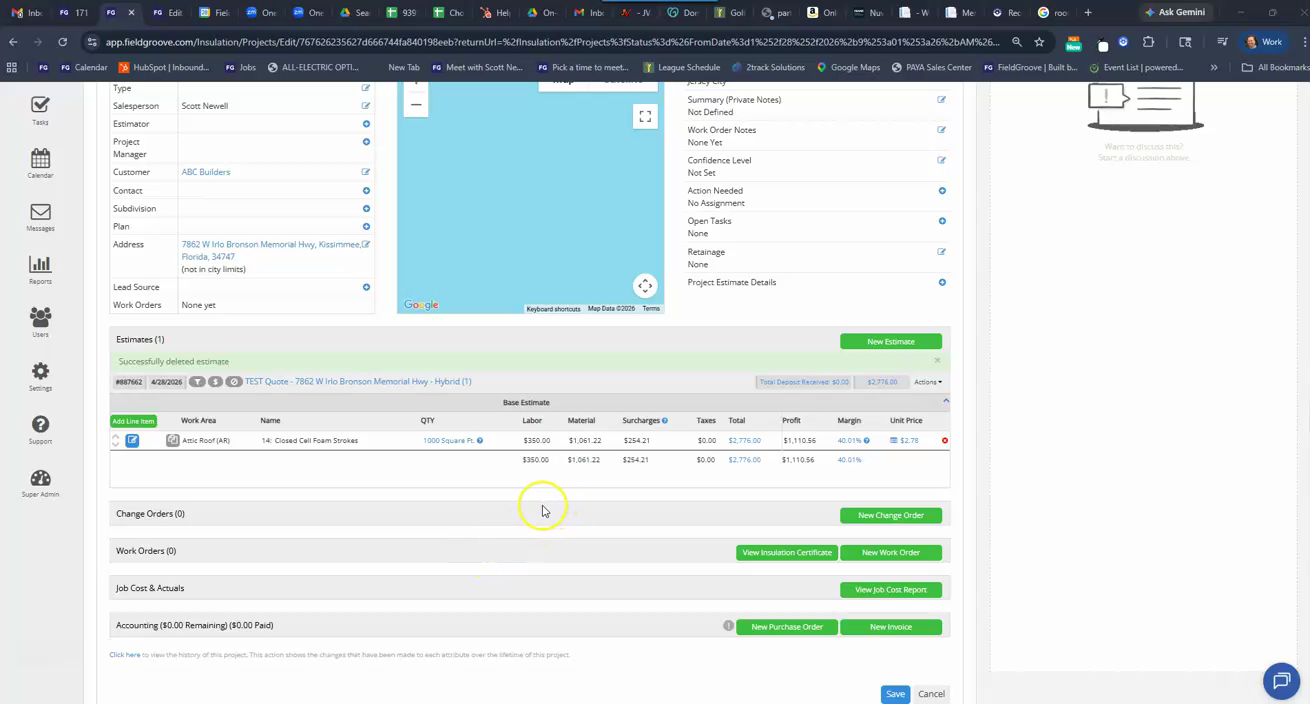
Step 2: Click on the Calculator option.
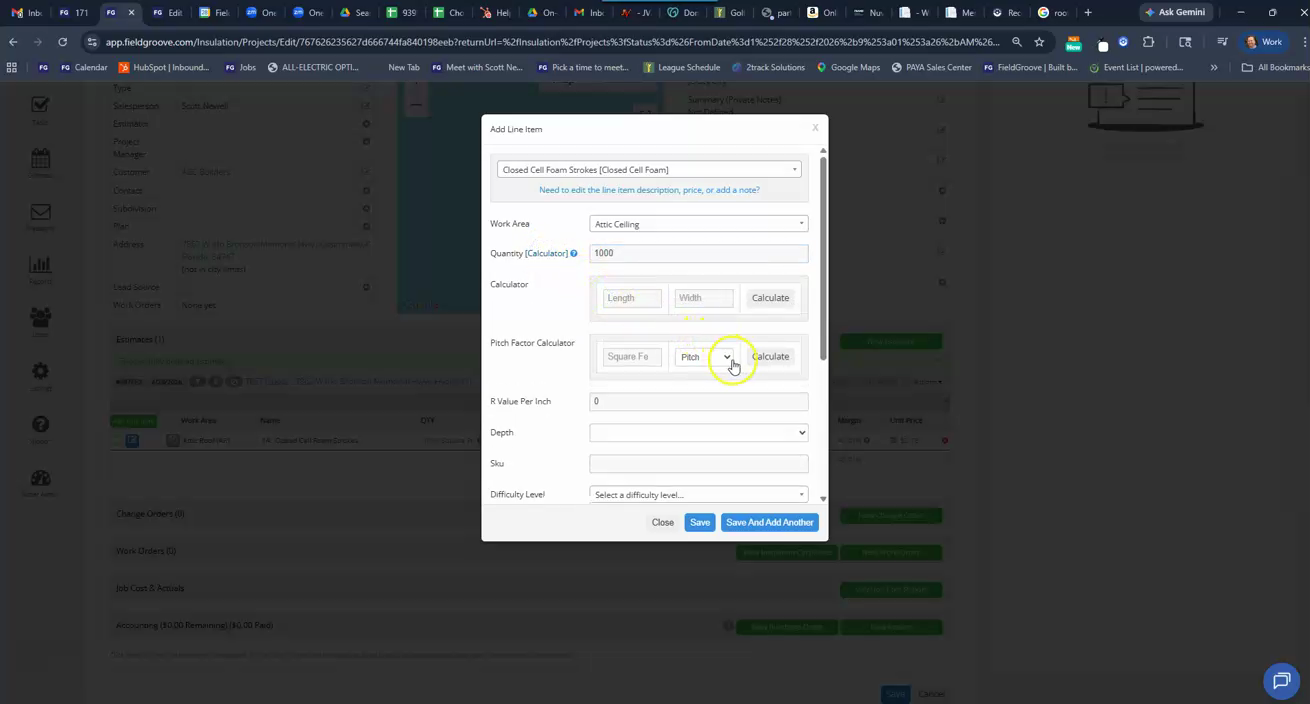
Step 3: Set your roof pitch, like “4/12,” and enter the attic area (e.g., 1,000 sq ft).
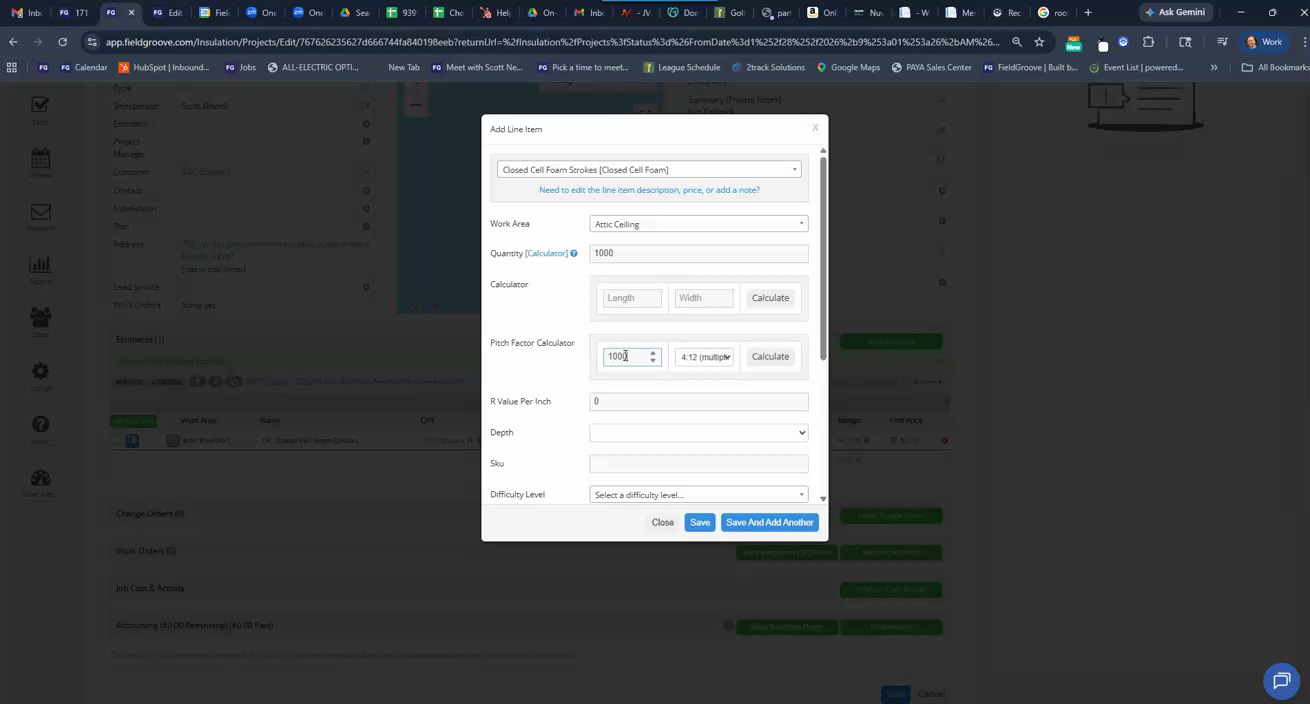
Step 4: Enter the desired insulation depth, such as 2 inches, and press Save.
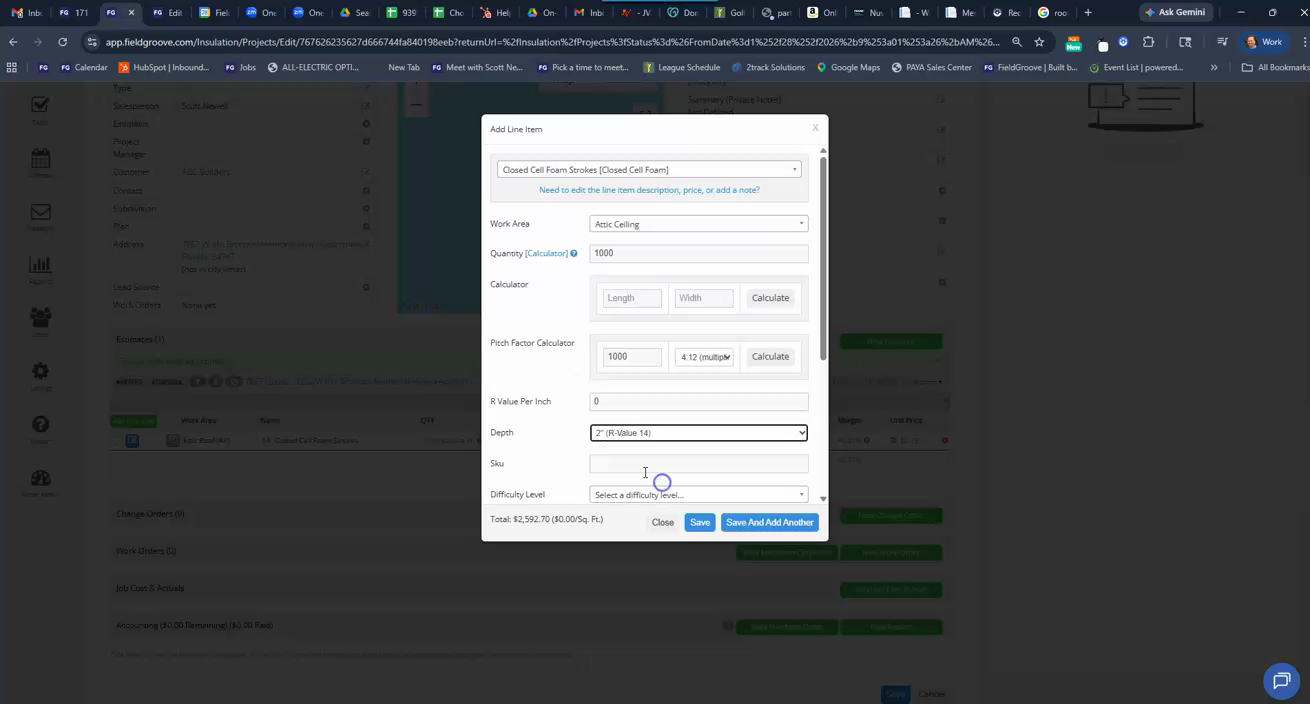
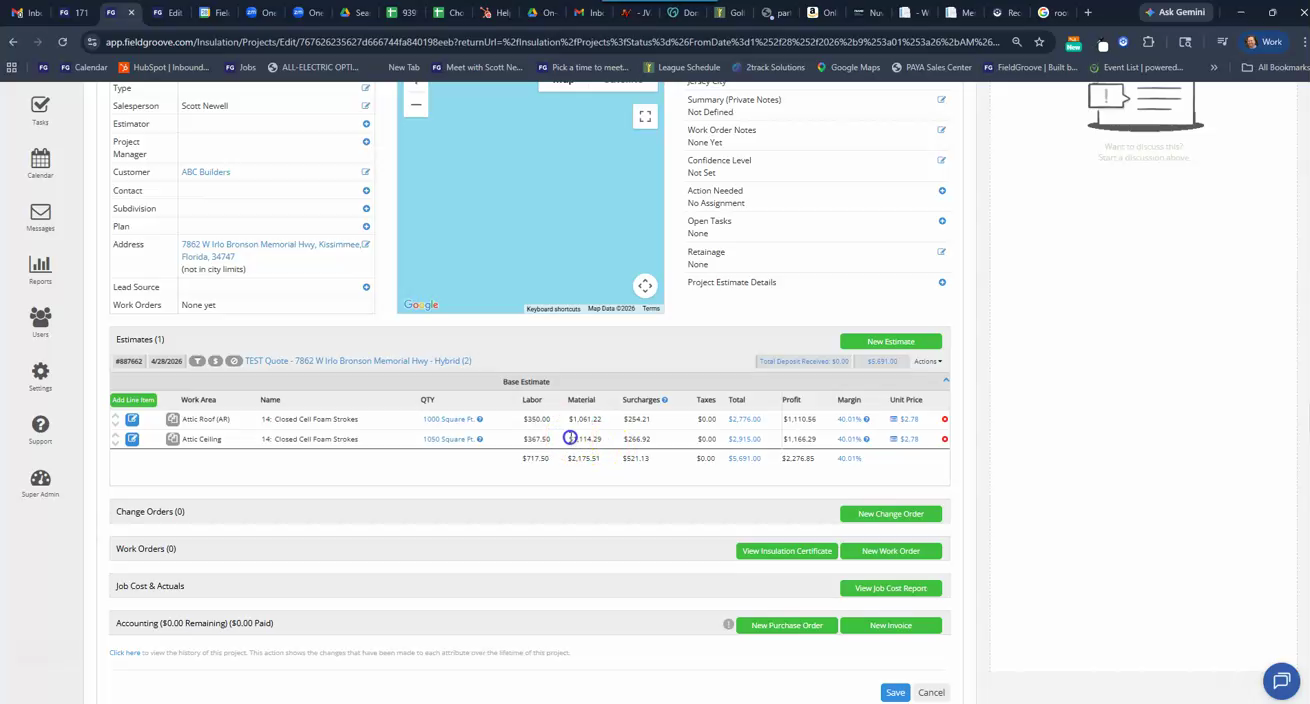
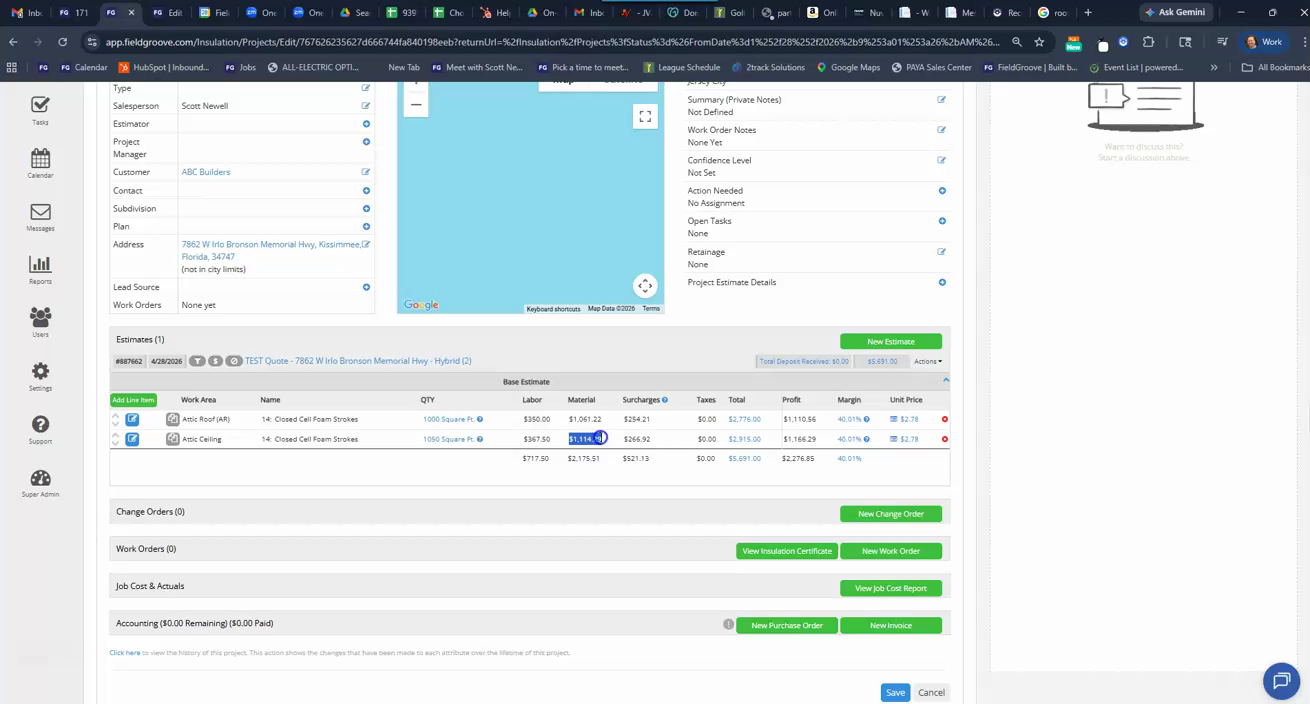
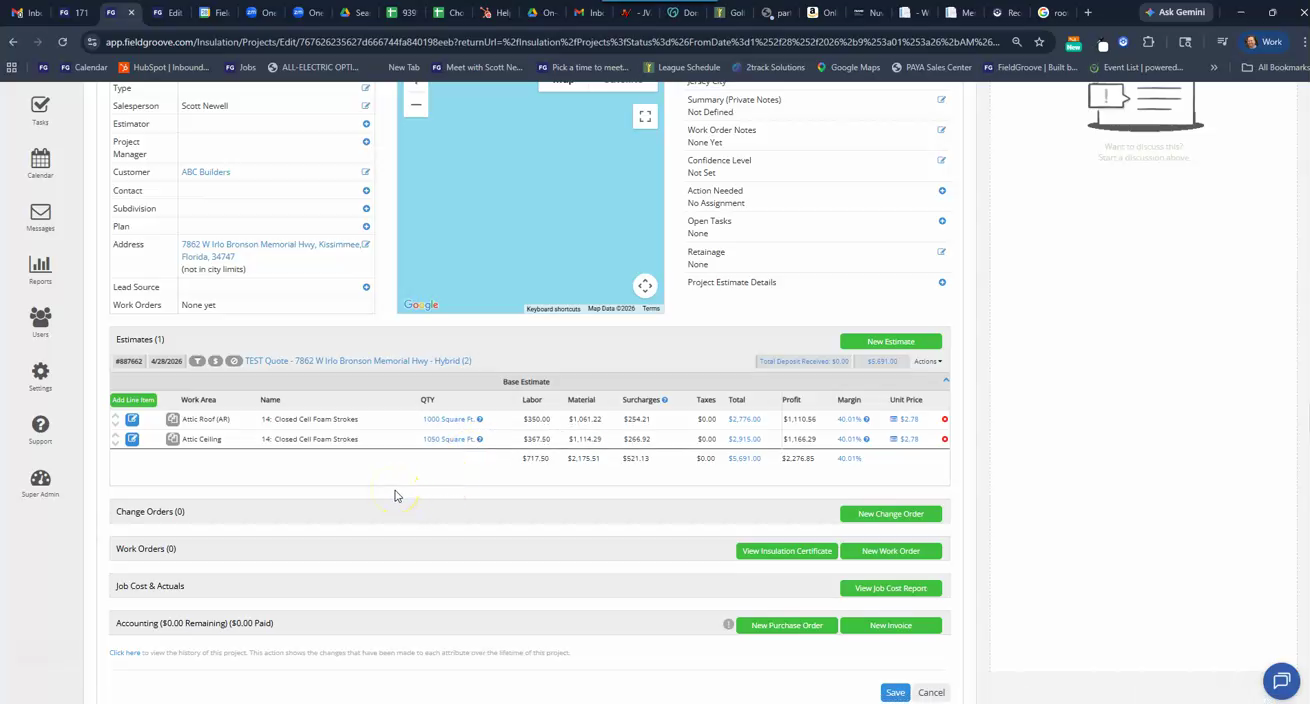
Step 5: Compare material estimates with and without the pitch calculator. You’ll see the calculator recommends more material for pitched roofs, ensuring you quote accurately.
To set up and customize your roof pitch options:
Step 1: Go to Settings.
Step 2: Click on your location.
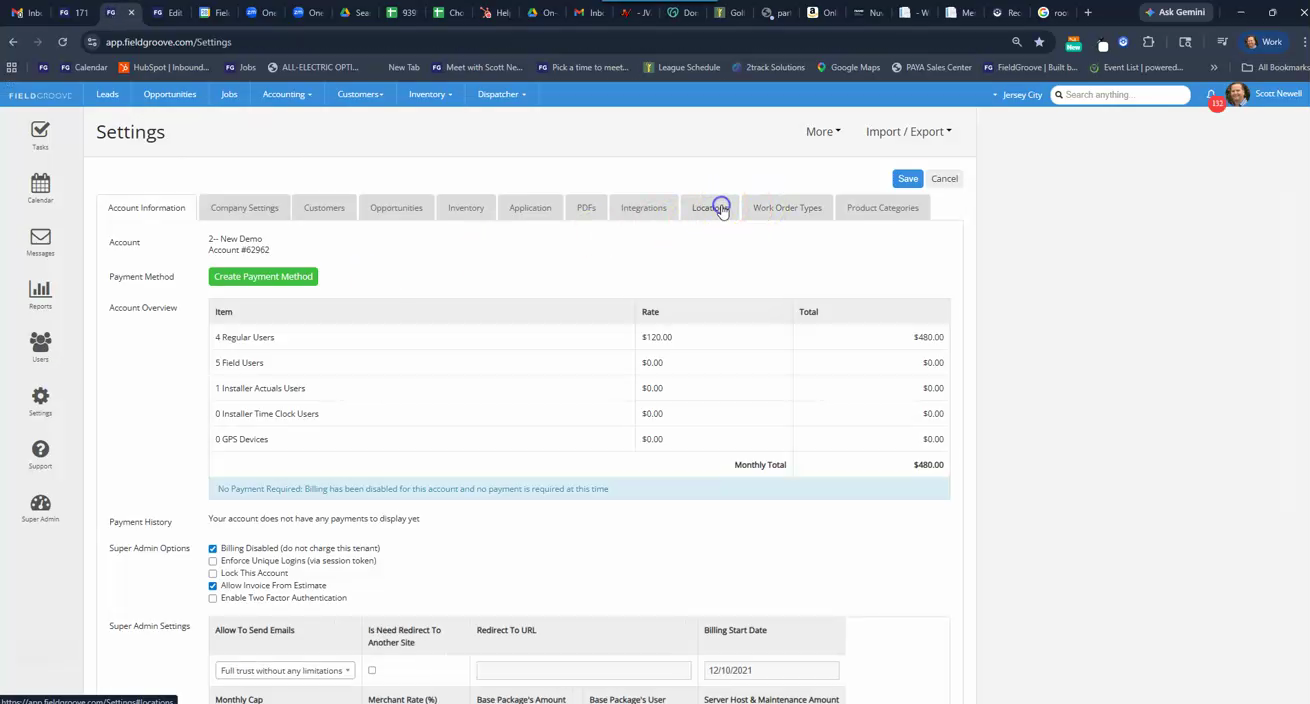
Step 3: Follow the link for the specific location.
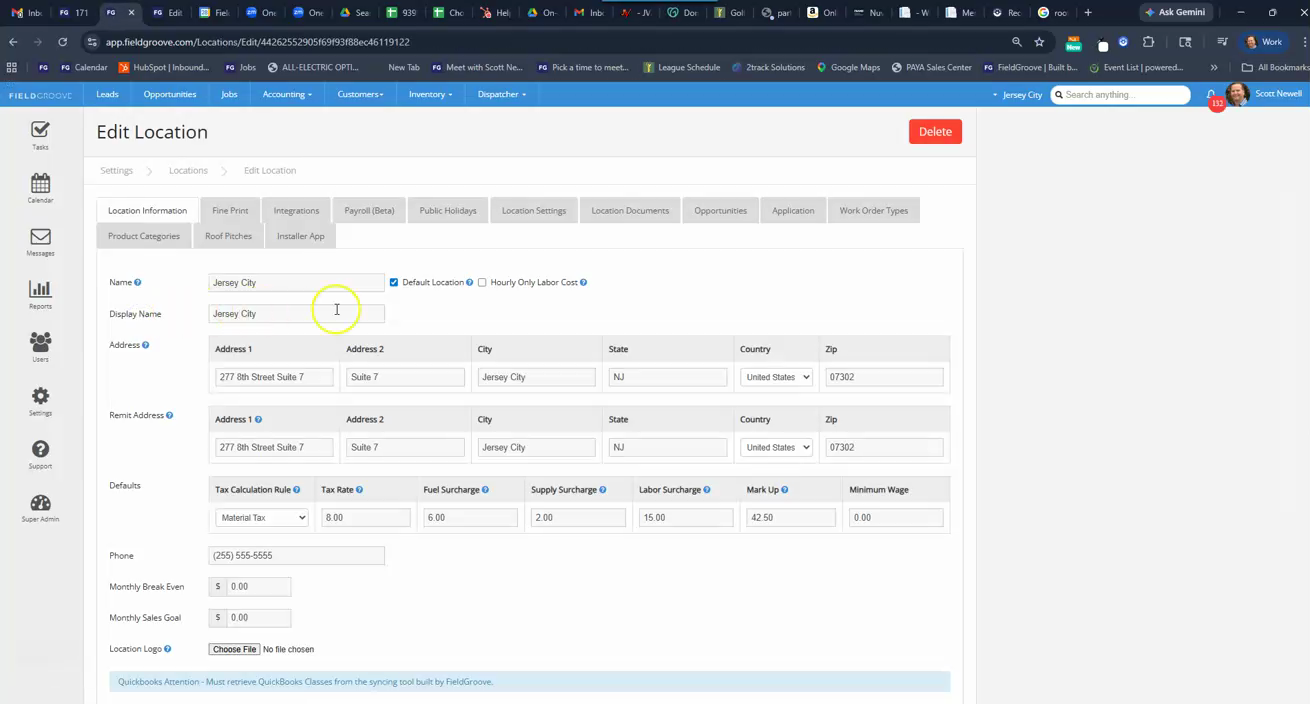
Step 4: In the Roof Pitches section, choose to add a new roof pitch.
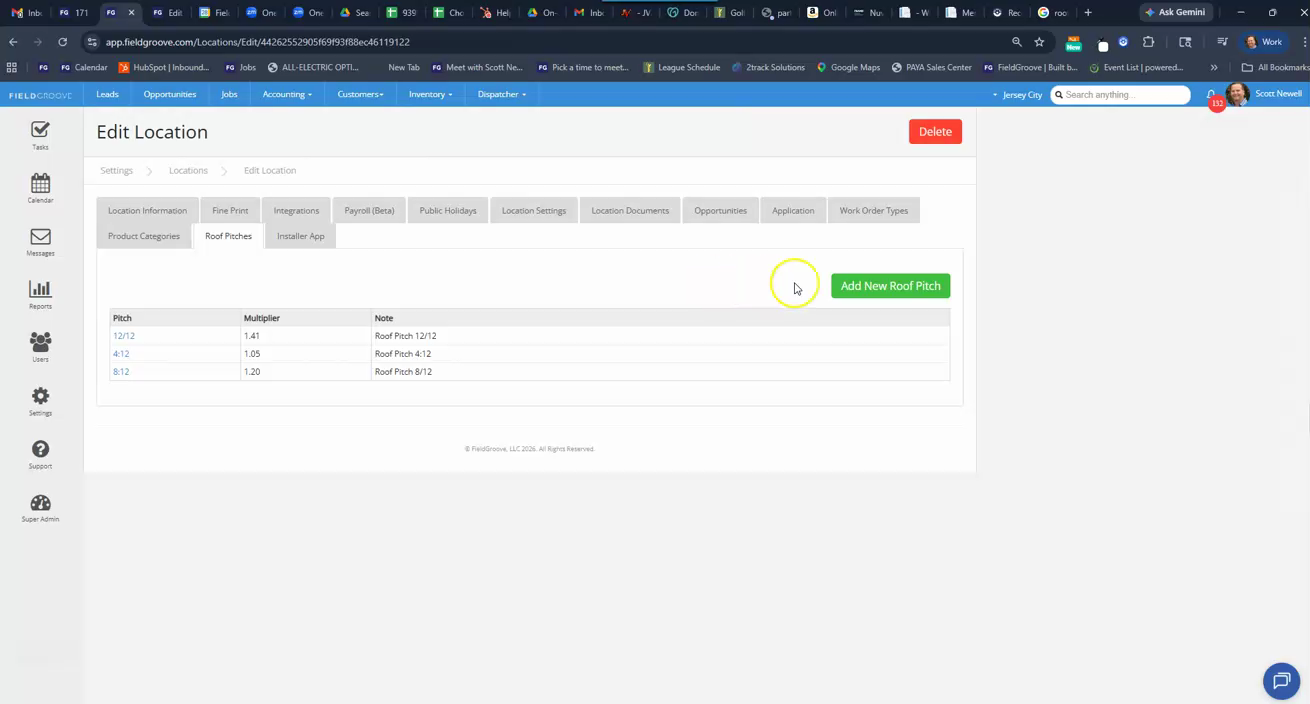
Step 5: Enter the pitch calculation you want. Use available online charts for reference if needed.
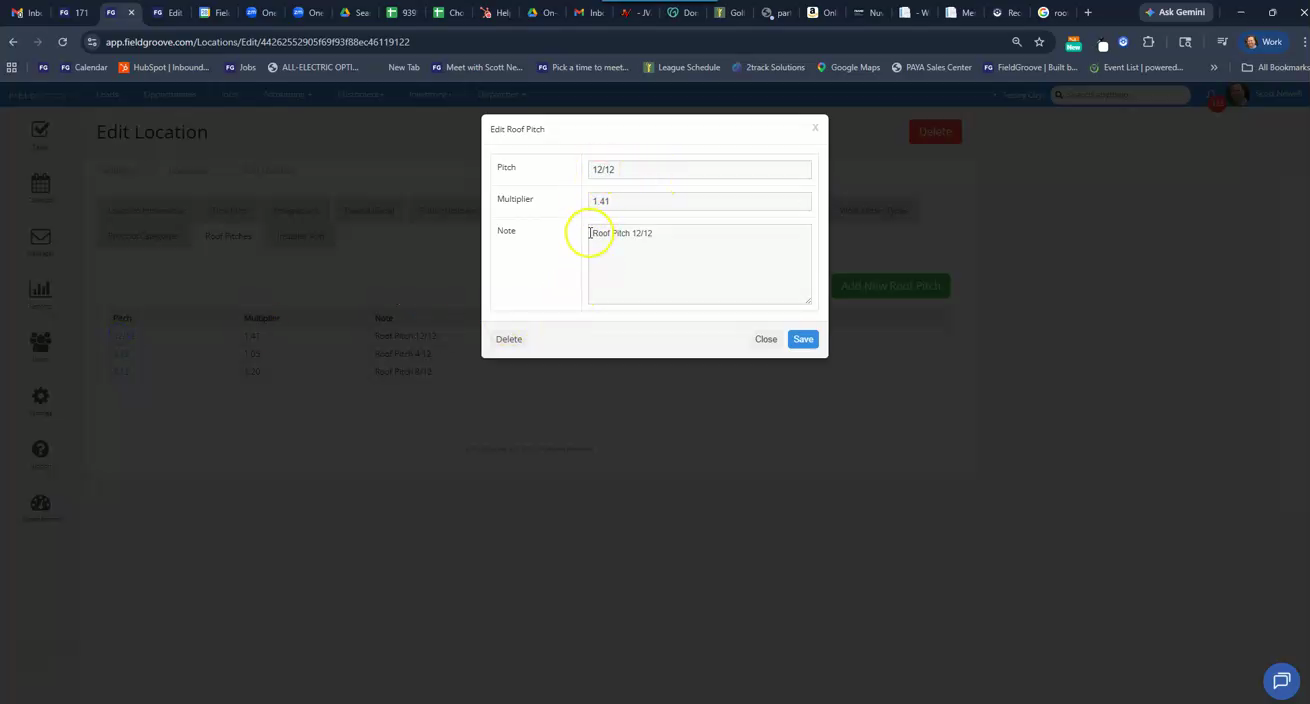
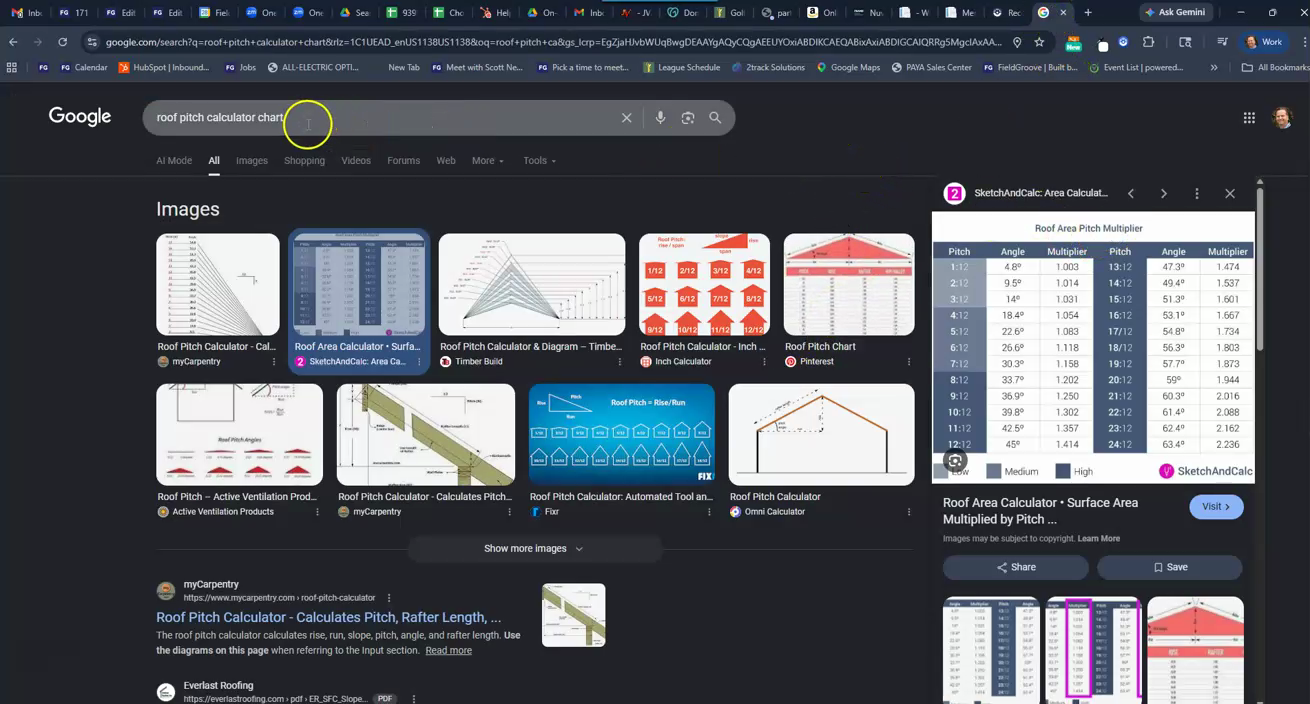
Accurate roof pitch calculations mean you’re estimating material needs correctly and maximizing project success. Add your most-used roof pitches in Settings for quicker, more accurate quotes in the future.