In this article, you'll learn how to create a change order for an ongoing project. This is useful when you need to add new tasks or products to a project that's already underway.
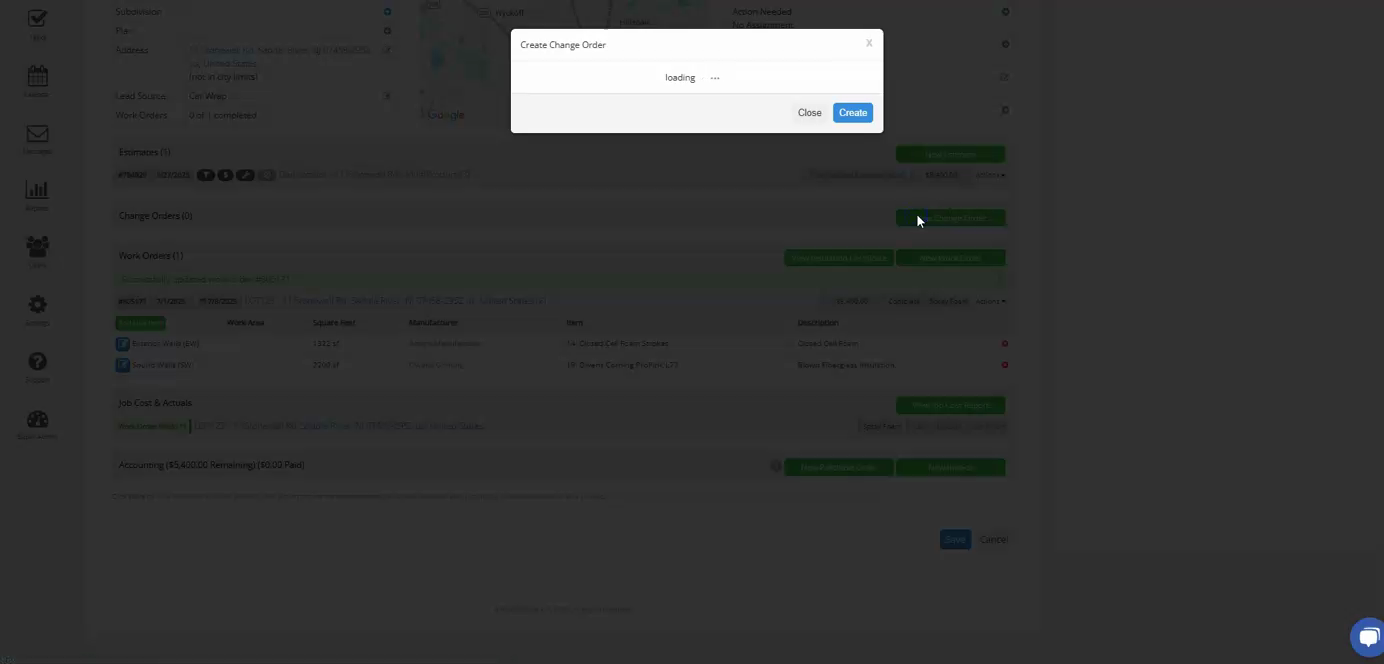
Step 1: Start by creating a new change order. This process is similar to creating a multi-product order. Click on the Create button.
Step 2: Add a new line item to your change order. For instance, if you're adding spray foam to a different area, specify the details of this task.
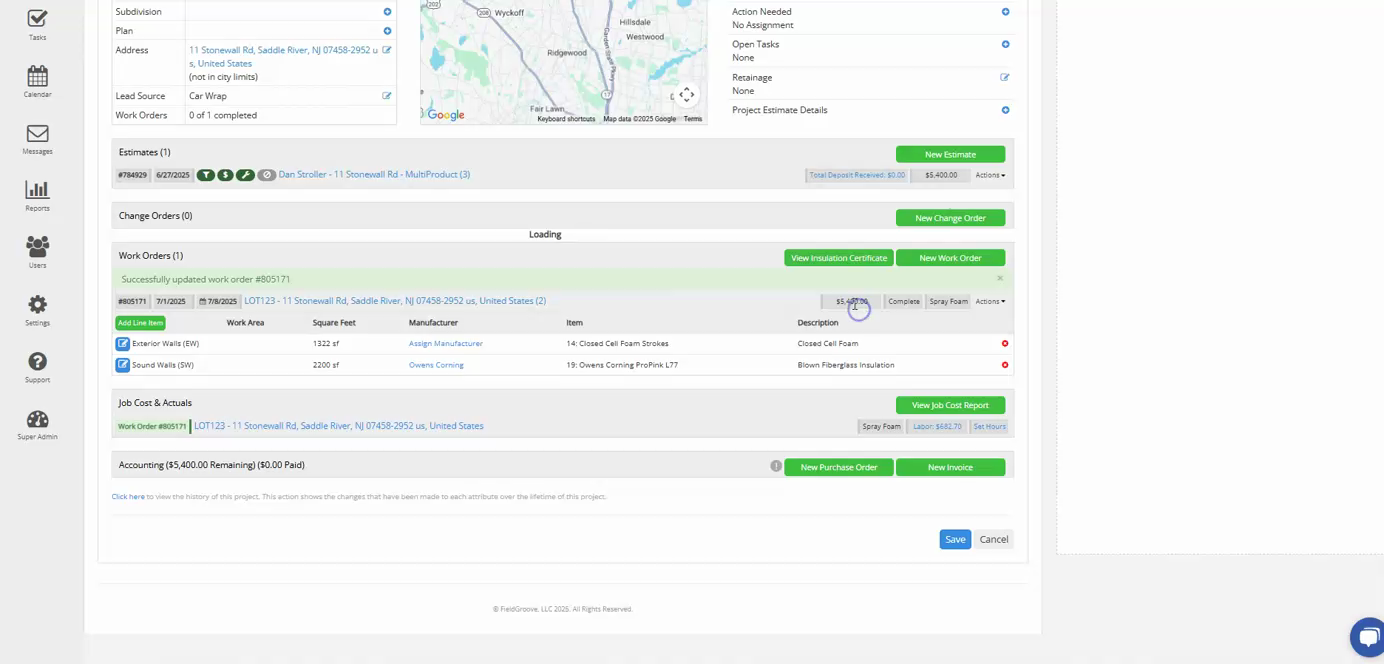
Step 3: Fill in the details of the new task. For example, if the customer decided to add spray foam to the wine cellar, specify the size of the area (850 square feet) and the thickness of the foam (3 inches). Once you've filled in the details, click on the Save button.

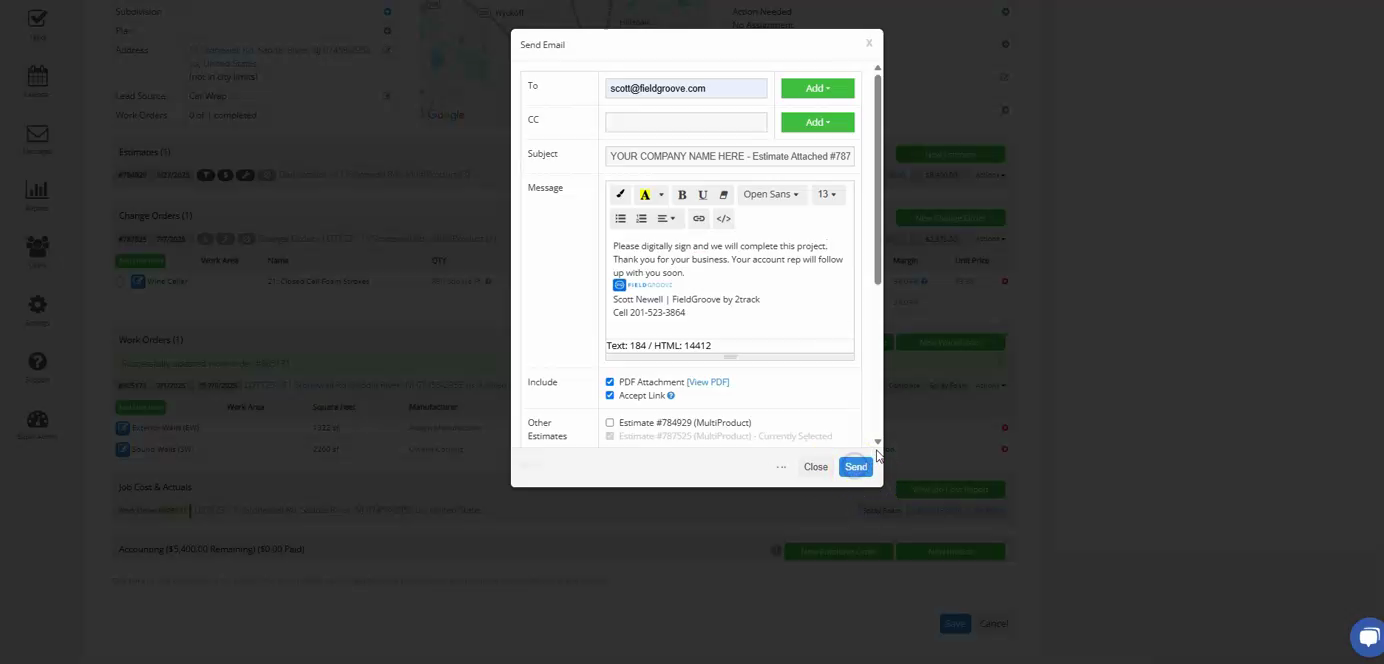
Step 4: Now, you're ready to send the change order to the customer. You can do this by email. Enter the customer's email address, then click on the Send button.
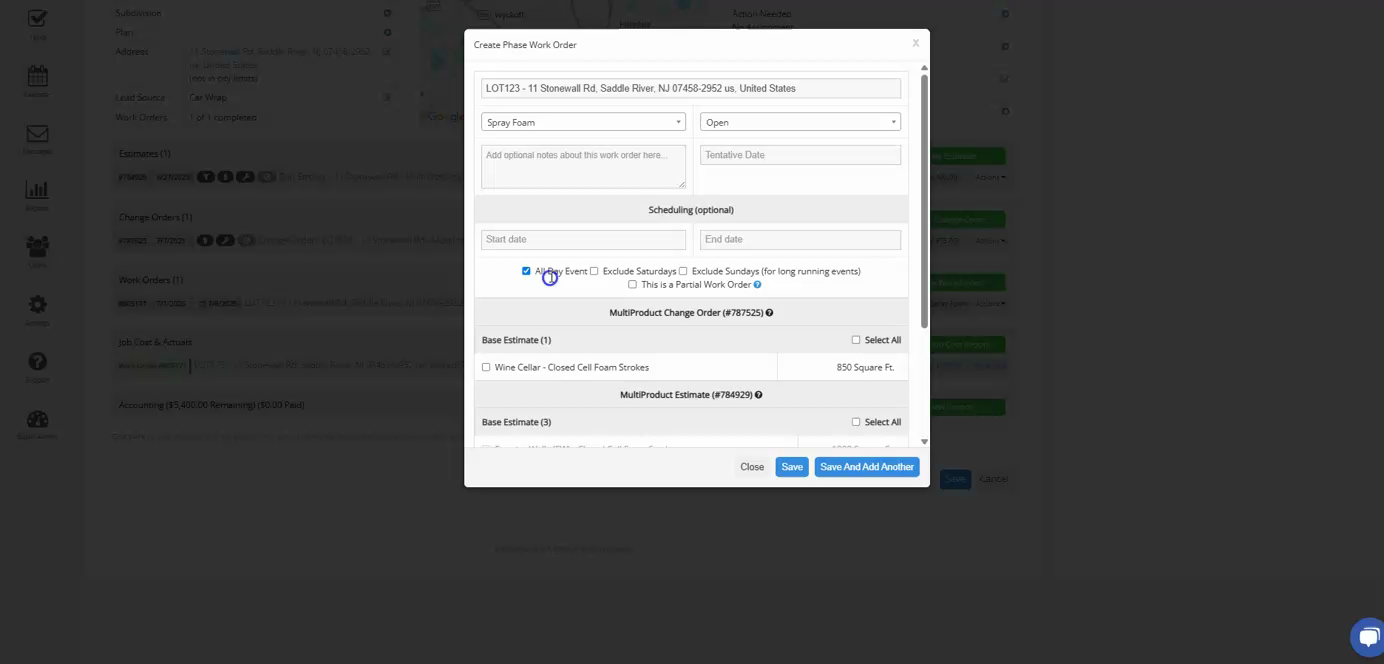
Step 5: Once the customer accepts the change order, mark it as accepted manually. Then, schedule the new task.
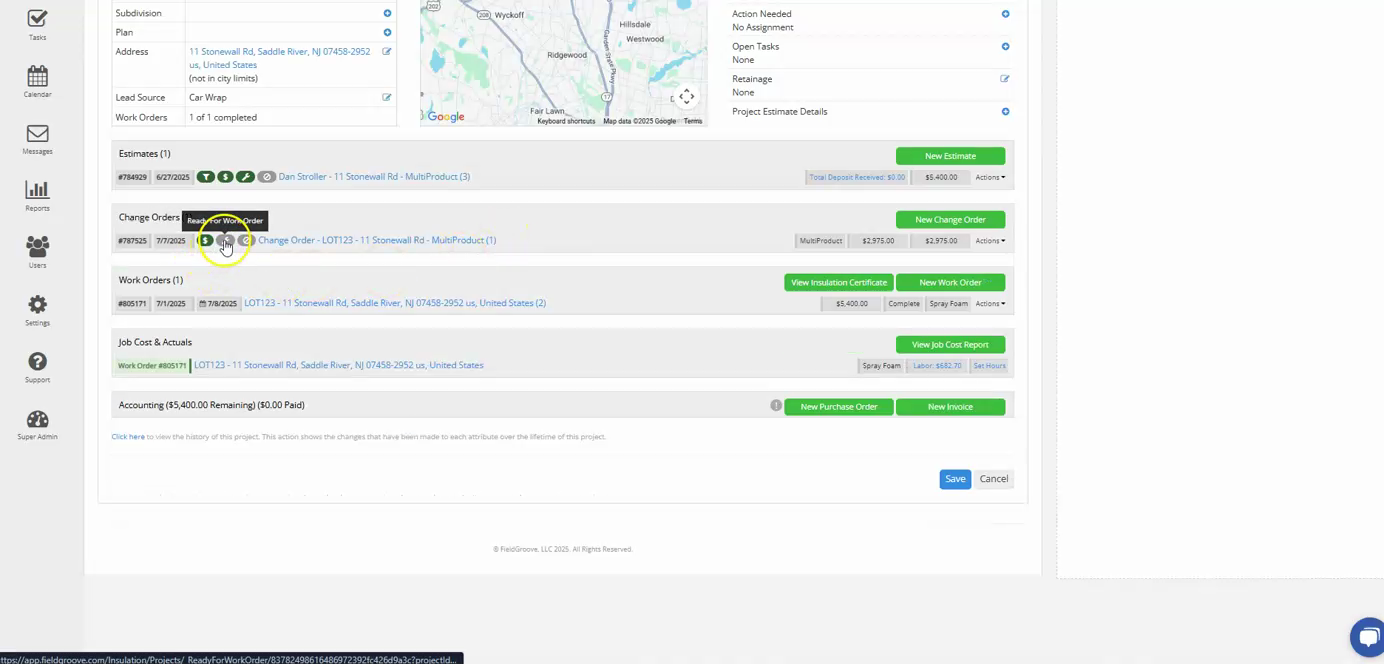
Step 6: Create a new work order for the new task. This is similar to creating a work order for an estimate. Name the work order (for example, "spray foam"), then click on the Save button.
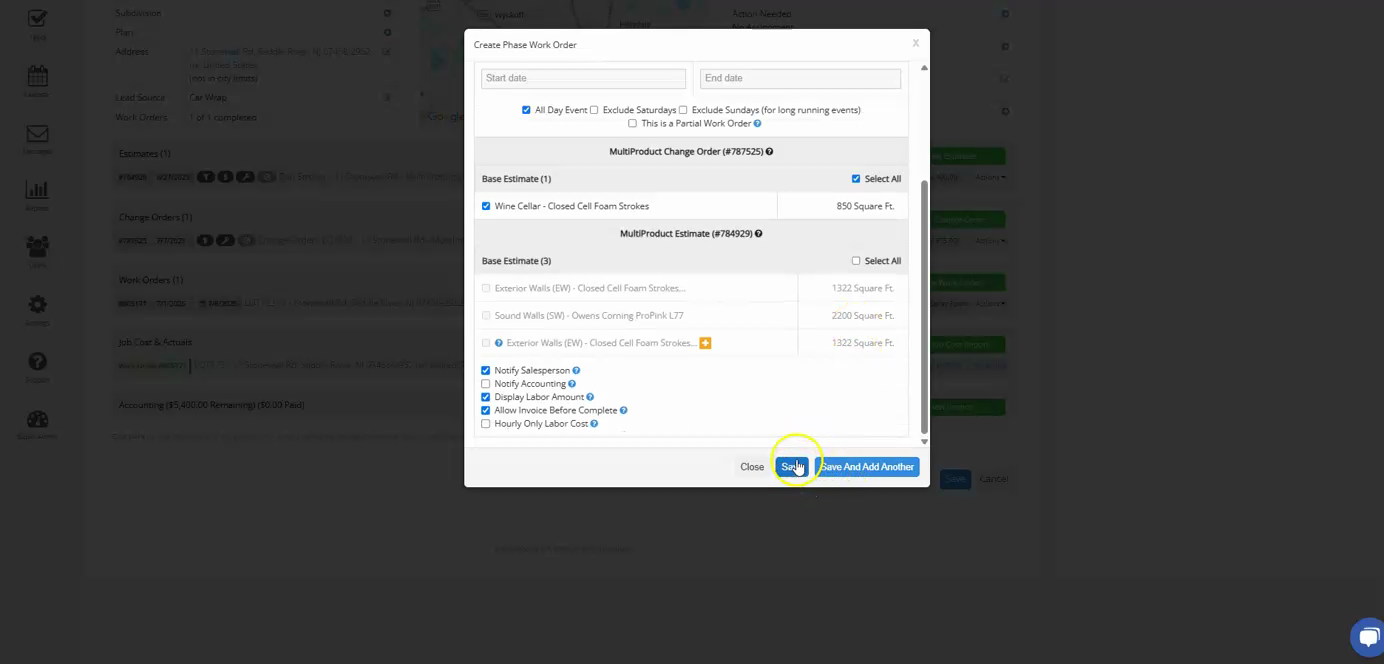
Step 7: Now, you can select the tasks that have already been completed and start working on the new task.
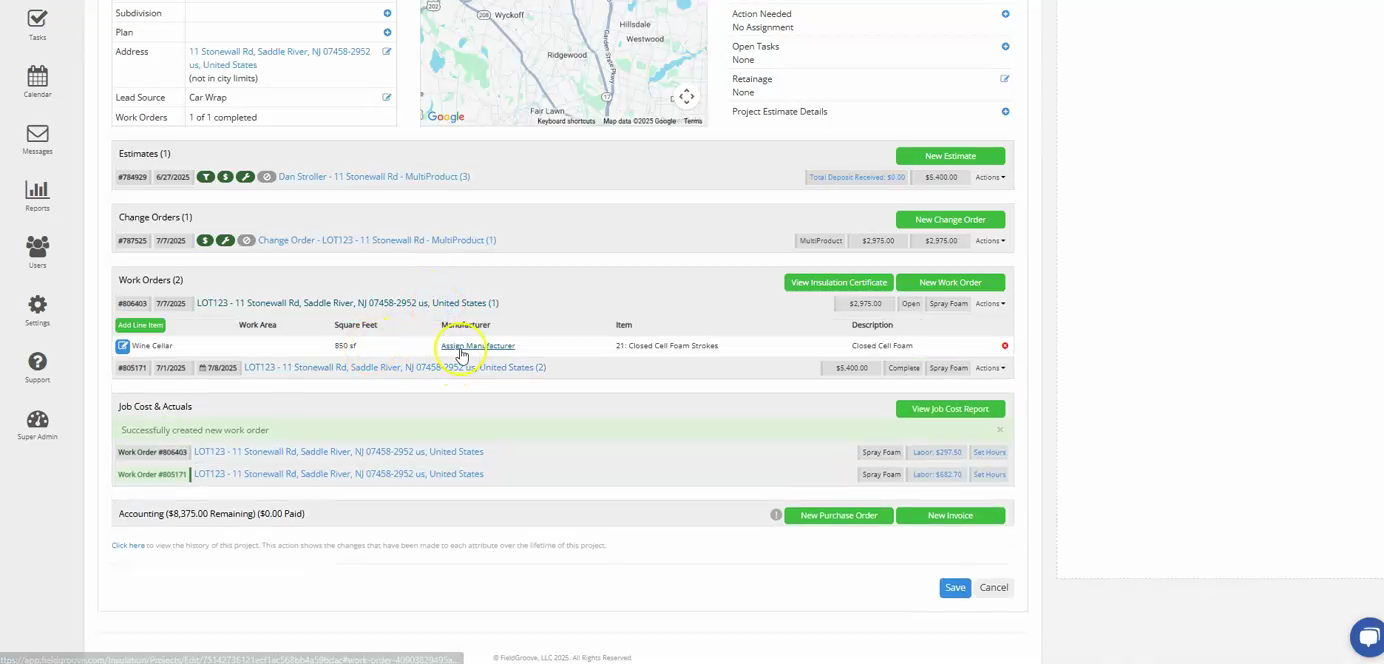
That's it! You've created a change order for an ongoing project. This change order will be included in the invoice once the new task is completed.