In this article, you'll learn how to create an invoice in FieldGroove.
Step 1: Start with your project. In this case, half of the project is completed and there's a change order for $2,900 that isn't fully done. However, you want to invoice for the completed work.
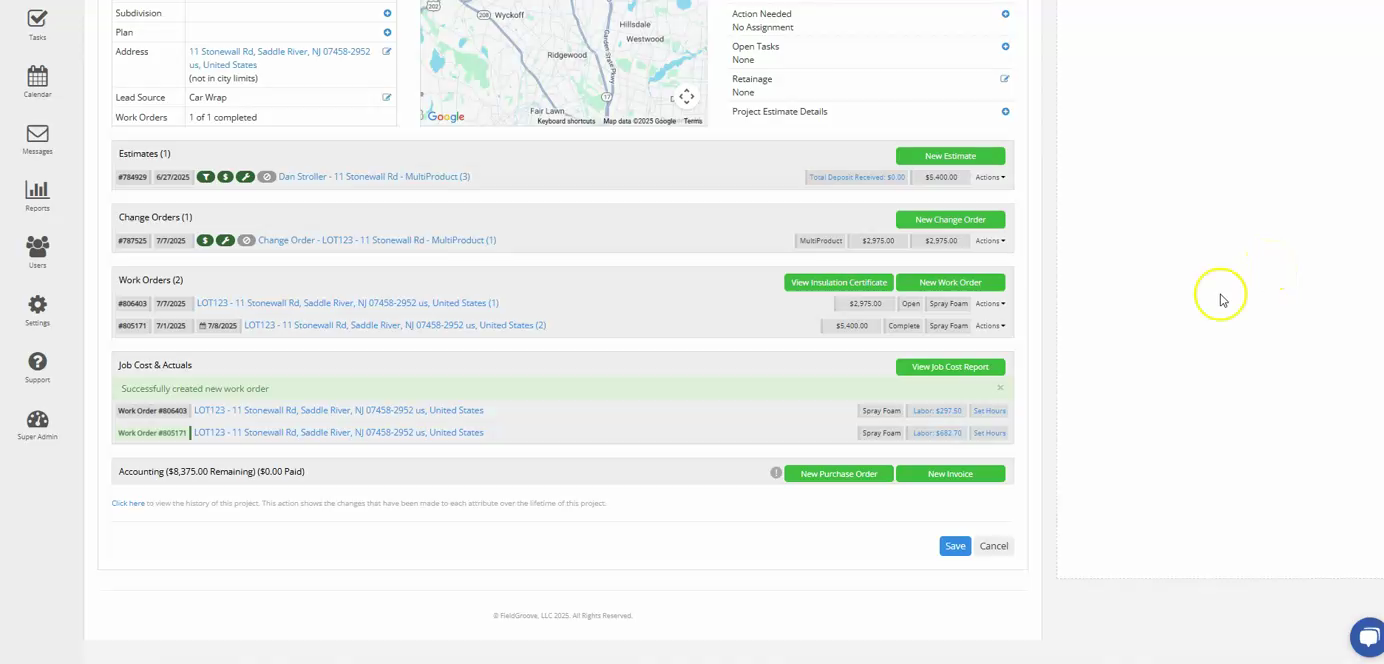
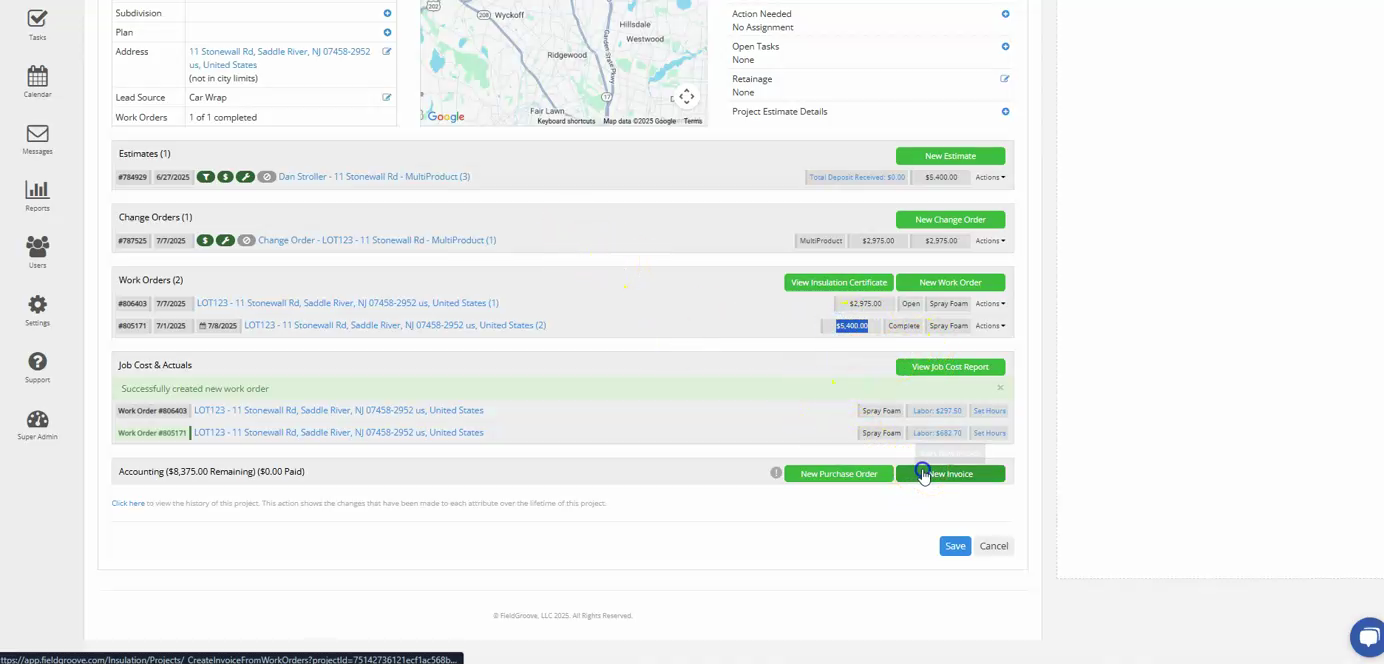
Step 2: Navigate to the new invoice option.
Step 3: Here, decide on the type of invoice you want to create. If you know the client will pay in full, create a full invoice. If you expect a partial payment, create a progress invoice. For a progress invoice, you can specify a percentage, like 50%. This means the client will only pay 2,700 at this time, and the remaining balance will be invoiced later. In this example, we're creating a full invoice for 5400.
Step 4: Add any necessary notes or custom work orders. You can also include different numbers if needed.
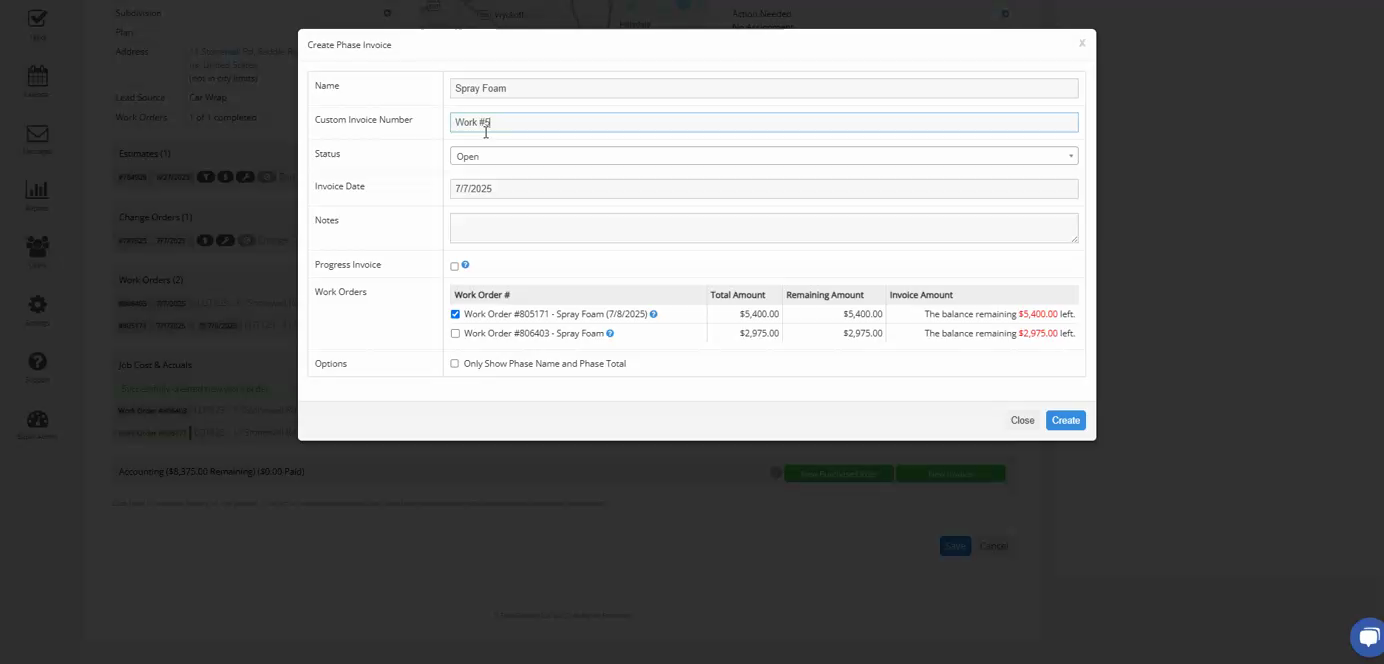
Step 5: Enter the invoice state and press create. You'll see that the invoice is for 5,400. You can view a printable version of the invoice, which shows the entire 5,400 balance due. There's also a pay button for when you send the invoice out.
And that's how you create an invoice in FieldGroove.